Corner-to-Corner Crochet
Learn to crochet using the corner-to-corner (C2C) technique using chart patterns. Crochet crafts are perfect for displaying in your home to compliment your decor or give as a thoughtful and cozy gift that can be cherished for years to come.
CROCHET
Maria Jennings
5/7/20265 min read
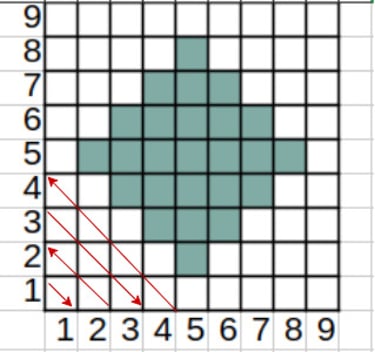
The corner-to-corner (C2C) crochet technique is worked diagonally, block-by-block, in alternating row directions, from one corner to the opposite corner. As your pattern changes colors, yarn strands are dropped instead of cutting them, keeping each color attached until no longer needed. This tutorial walks you through a small sample graph pattern so you can confidently apply the technique to larger projects, such as an afghan or scarf. You only need to know three basic stitches to complete this exercise and do not have to be familiar with crochet to learn!
Required Supplies:
Sample corner-to-corner graph pattern as shown above
Two colors of worsted weight (Medium-4) yarn
White
Blue
Crochet hook size H (5.0mm) or I (5.5 mm)
Basic C2C Crochet Stitches:
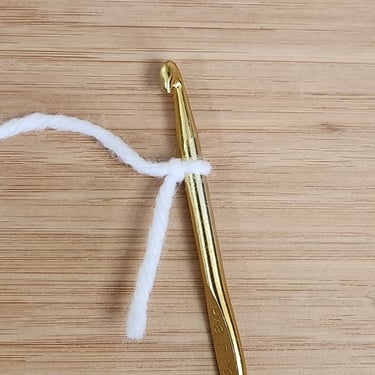
Holding the Yarn
With palm facing down, drape the string coming from the end of your yarn over the pinky finger, under the ring and middle finger, and over the index finger. Use your middle finger and thumb to pinch the end of the yarn. Extend your pointer finger and use it to control the yarn tension to be as tight or lose as you wish as your crochet. The goal is to work the crochet hook in the yarn space between the thumb and extended index finger and have a smooth flow of yarn between your fingers as you crochet.
Slip Stitch (sl st)
Insert the hook, yarn over, pull through stitch and loop
Chain Stitch (ch)
Yarn over, pull through loop on hook.
Double Crochet (dc)
Yarn over, insert hook, pull up loop, yarn over, pull through two loops twice
Changing Colors
Insert hook into the next stitch or space. Drop the old color but do not cut it. Place the new color on the hook. Pull the new color through loops to finish the stitch. Continue crocheting with the new color.
Useful Tips
When tying on/off new colors, hide the yarn tail by covering with stitches as you go.
When dropping/picking up colors, pull strands tight to close any gaps.
General Information to Know Before You Begin
Each block on the chart pattern consists of a ch 3 + 3 dc worked into a ch-3 space.
Each row begins with an increase block through Row 9. Thereafter, rows will decrease (no ch-6).
This pattern assumes you will work diagonally starting from the bottom left (1,1) block, known as Row 1. The pattern continues with blocks (2,2) and (2,1) for Row 2, then (3,1), (3,2), (3,3) and as Row 3, and so on.
Color changes occur inside the slip stich that joins to the next ch-3 space.
How to Crochet Using the Corner-to-Corner (C2C) Technique
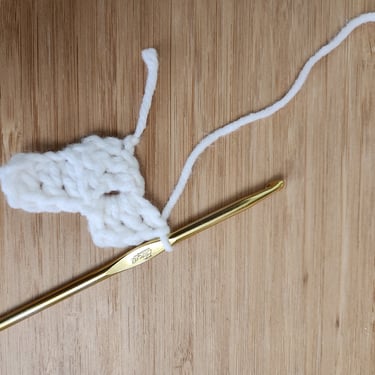
Row 1 (1 white block):
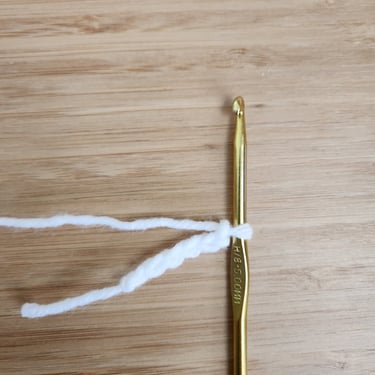
With White yarn, tie yarn onto hook.
Ch 6.
Dc in 4th chain from hook and in next two chains.
This forms your first block (block 1,1).
Note: The first dc creates a ch-3 turning space used for the join with the next row.
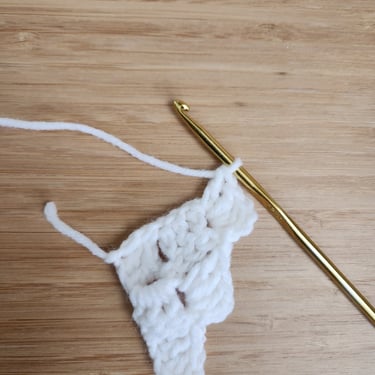
Row 2 (2 white blocks):
Ch 6.
Dc in 4th chain from hook and next two chains.
This forms your second block (block 2,2).
Rotate Row 1 upward, then sl st into the ch-3 turning space of Row 1.
Ch 3 + 3 dc into the same space.
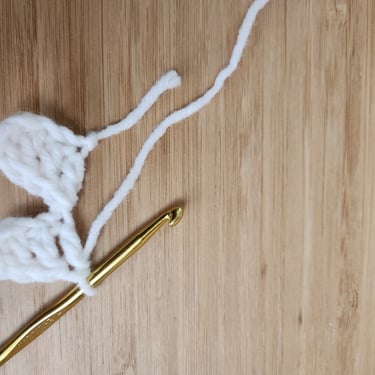
This forms your third block (block 2,1).
Note: This completes Row 2 consisting of two new blocks and you should now have what resembles a heart shape.
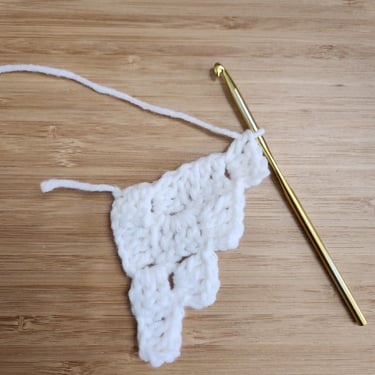
Row 3 (3 white blocks):
Ch 6.
Dc in 4th chain from hook and next two chains.
Rotate work, sl st into the last ch-3 space from Row 2.
Work 3 blocks total across the row.
Row 3 now has three blocks.
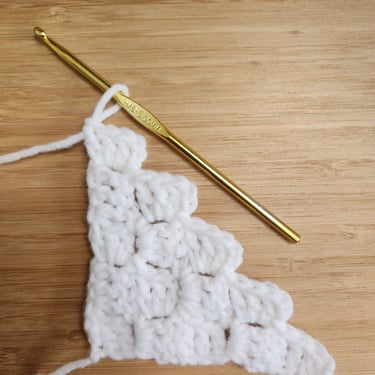
Row 4 (4 white blocks):
Repeat the same increase method (four blocks).
Row 5 (5 white blocks):
Repeat the same increase method (five blocks).
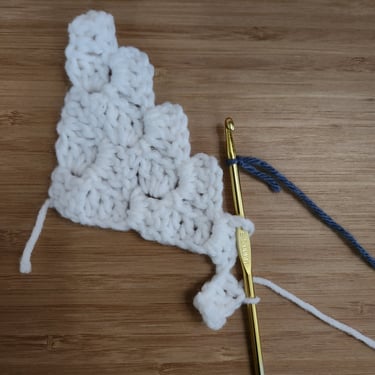
Row 6 (6 blocks - 1 white, 4 blue, 1 white):
Note: This row will be the first color change and begins the blue diamond.
Ch 6, Dc in 4th chain from hook and next two chains (White yarn).
Rotate work, sl st into the last ch-3 space from the previous row.
Switch to Blue yarn inside the sl st (drop white, tie-on blue).
Continuing the blue yarn, work 4 blue blocks across the next four ch-3 spaces.
Switch back to the white yarn inside the next sl st (drop blue, tie-on a new strand of white).
Work 1 white block
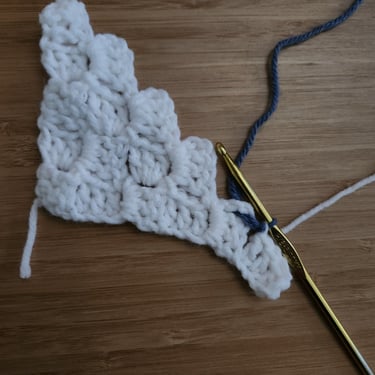
Row 7 (7 blocks - 2 white, 3 blue, 2 white):
Ch 6, Dc in 4th chain from hook and next two chains (white yarn).
Rotate work, sl st into the last ch-3 space from the previous row.
Work 1 more white block.
Drop the white yarn, pick up the blue yarn.
Work 3 blue blocks.
Drop the blue yarn, pick up the white yarn.
Work 2 white blocks.
Row 8 (8 blocks - 2 white, 4 blue, 2 white):
Note: Begin with increase as usual.
Work 2 white blocks, 4 blue blocks, 2 white blocks.
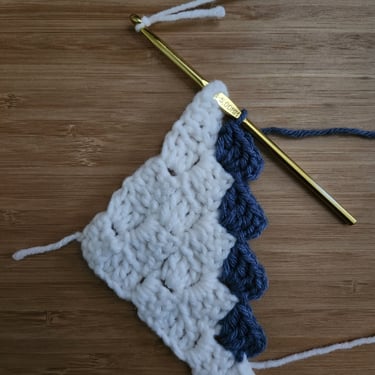
Row 9 (9 blocks - 3 white, 3 blue, 3 white):
Note: Begin with increase as usual and the final block of this row will have a finished edge.
Work 3 white blocks, 3 blue blocks, 3 white blocks
Rotate work, create a finished edge by sl st in last 3 dc and ch-3 space (4 sl sts total).
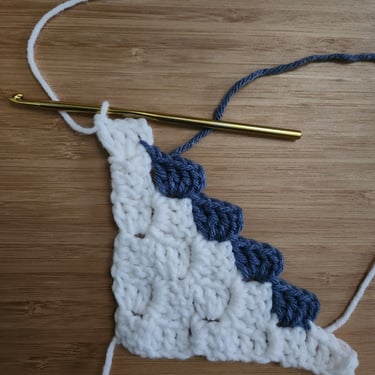
Row 10 (8 blocks - 2 white, 4 blue, 2 white):
Note: Do not ch 6. This row will begin the decreases.
Beginning directly in the last ch-3 space of Row 9, ch 3 + 3 dc (white), sl st into next ch-3 space.
Work 1 more white block.
Drop the white yarn, pick up the blue yarn.
Work 4 blue blocks.
Drop the blue yarn, pick up the white yarn.
Work 2 white blocks.
Rotate work, create a finished edge by sl st in last 3 dc and ch-3 space (4 sl sts total).
Row 11 (7 blocks - 2 white, 3 blue, 2 white):
Beginning directly in the last ch-3 space of Row 10, work 2 white blocks.
Drop white yarn, pick up blue yarn.
Work 3 blue blocks.
Drop blue yarn, pick up white yarn.
Work 2 white blocks.
Rotate work, create a finished edge as before (4 sl sts total).
Row 12 (6 blocks - 1 white, 4 blue, 1 white):
Note: After finishing the 4th blue block in this row, you will cut and tie off your blue yarn and continue the remaining rows with white only.
Beginning directly in the last ch-3 space of Row 11, work 1 white block1.
Drop white yarn, pick up blue yarn.
Work 4 blue blocks.
Cut and tie off blue yarn, pick up white yarn.
Work 1 white block.
Rotate work, create a finished edge as before (4 sl sts total).
Row 13 (5 white blocks):
Beginning directly in the last ch-3 space of Row 12, work 5 white blocks.
Rotate work, create a finished edge (4 sl sts total).
Row 14 (4 white blocks):
Beginning directly in the last ch-3 space of Row 13, work 4 white blocks.
Rotate work, create a finished edge (4 sl sts total).
Row 15 (3 white blocks):
Beginning directly in the last ch-3 space of Row 14, work 3 white blocks.
Rotate work, create a finished edge (4 sl sts total).
Row 16 (2 white blocks):
Beginning directly in the last ch-3 space of Row 15, work 2 white blocks.
Rotate work, create a finished edge (4 sl sts total).
Row 17 (1 white block):
Beginning directly in the last ch-3 space of Row 16, work 1 white block.
Rotate work, create a finished edge (4 sl sts total).
Finish Off:
Cut the strand, leaving a couple of inches.
Tie off the strand with double knots to secure from unraveling.
Weave the tail into existing stitches to hide the tail.
Weave in the tail of the starting strand at Row 1 in the same manner.
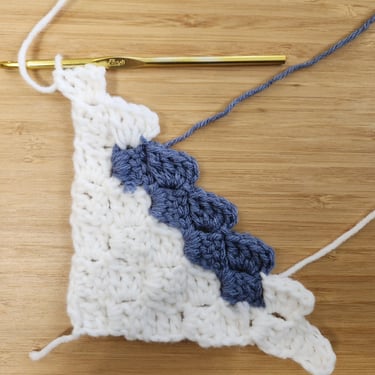
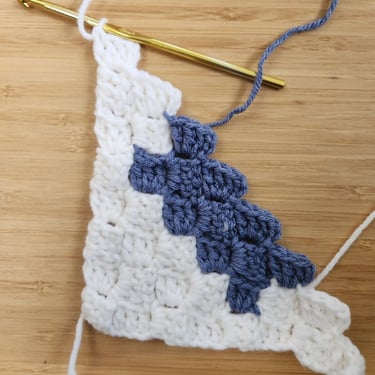
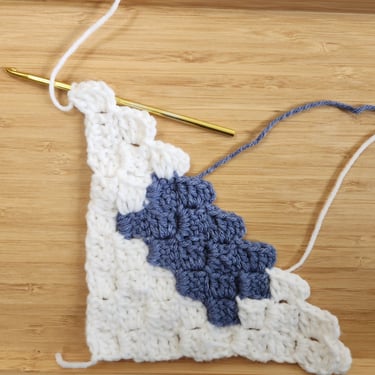
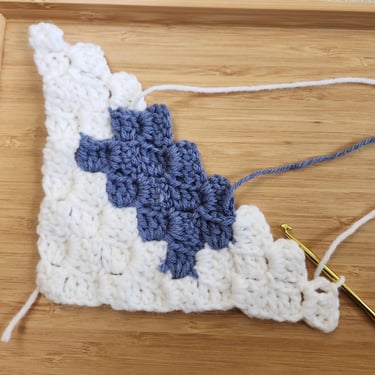
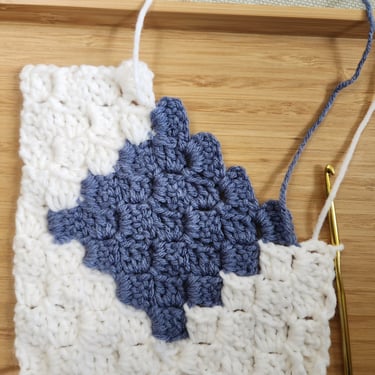
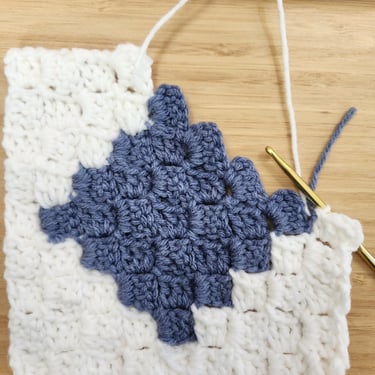
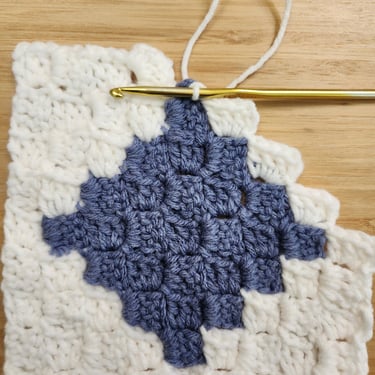
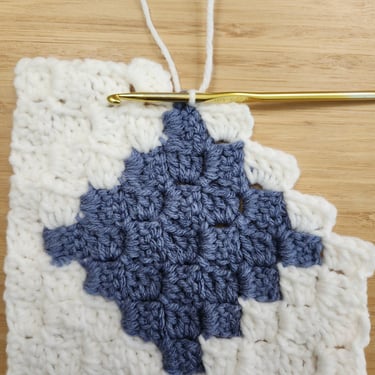
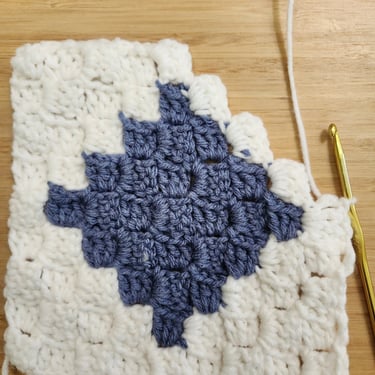
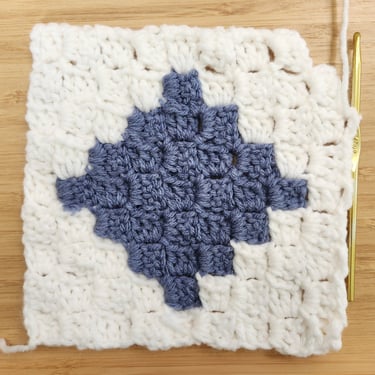
C2C Tutorial Photos


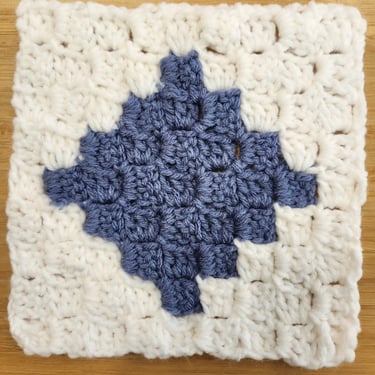
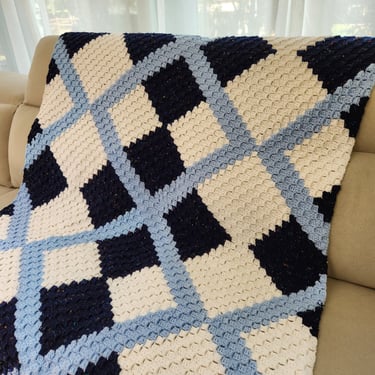
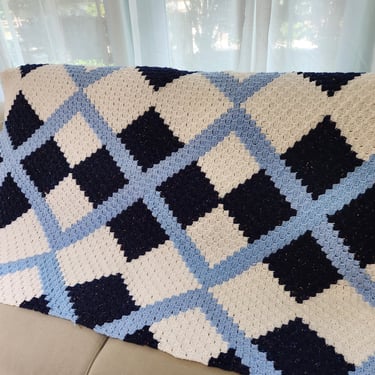
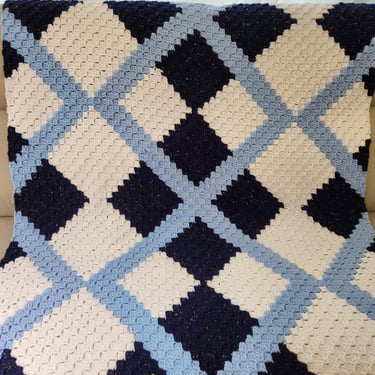
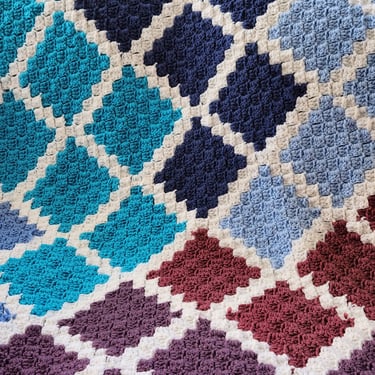
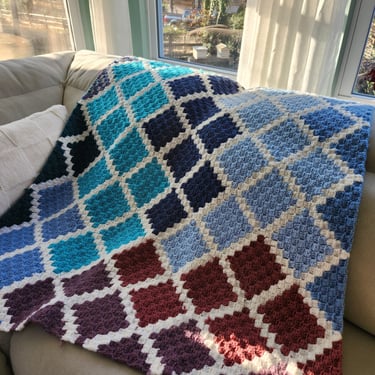
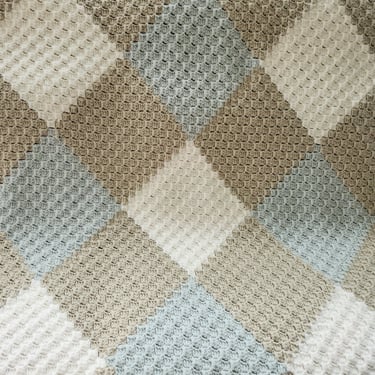
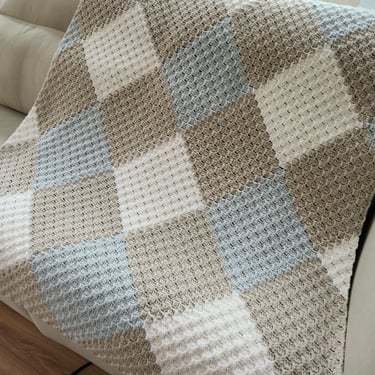
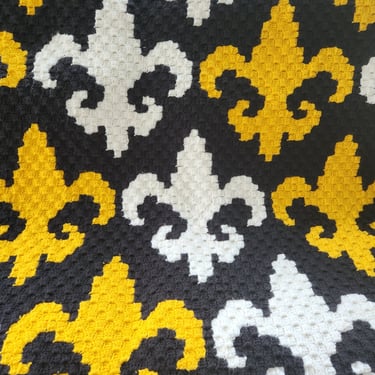
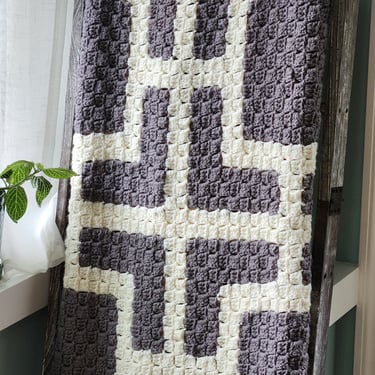
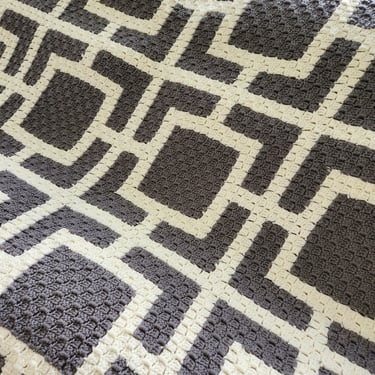
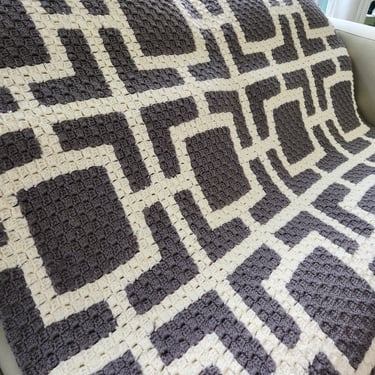
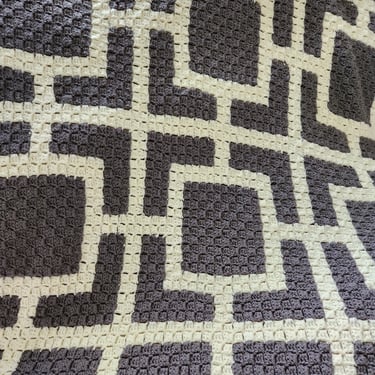
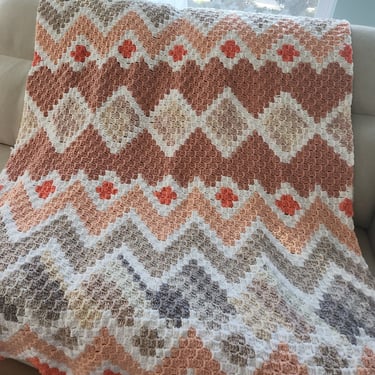
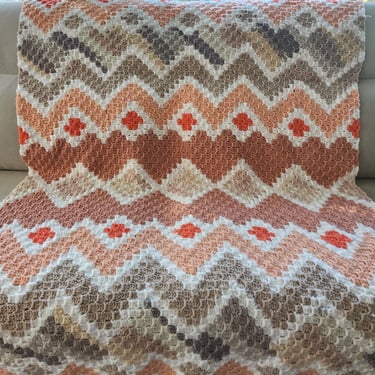
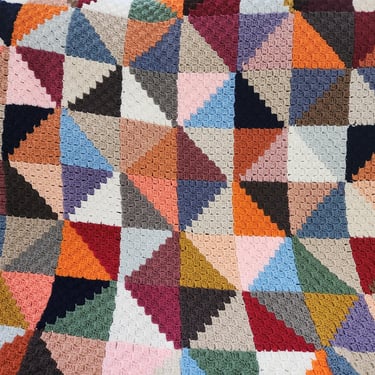
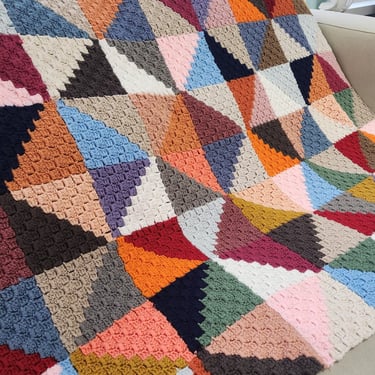
C2C Designs by High Cotton Craft Lab
The below designs were created by the High Cotton Craft Lab. Patterns available for sale on the High Cotton Craft Lab Etsy store! Get one today and get started!