
Homemade Vanilla Extract
Make your own Vanilla Extract for baking or giving as a gift to your foodie friends! Storing in small decorative bottles with custom labels gives a finishing touch, making it a great addition to gift baskets or when passing down your favorite recipes.
COOKING
Maria Jennings
5/7/20261 min read
Required Supplies:
Vodka (preferably 40% alcohol)
Waterproof Printable Vinyl Labels
Printer
Sharpie Marker
Instructions for Making Homemade Vanilla Extract:
Make a lengthwise slice down one side of 4 vanilla beans.
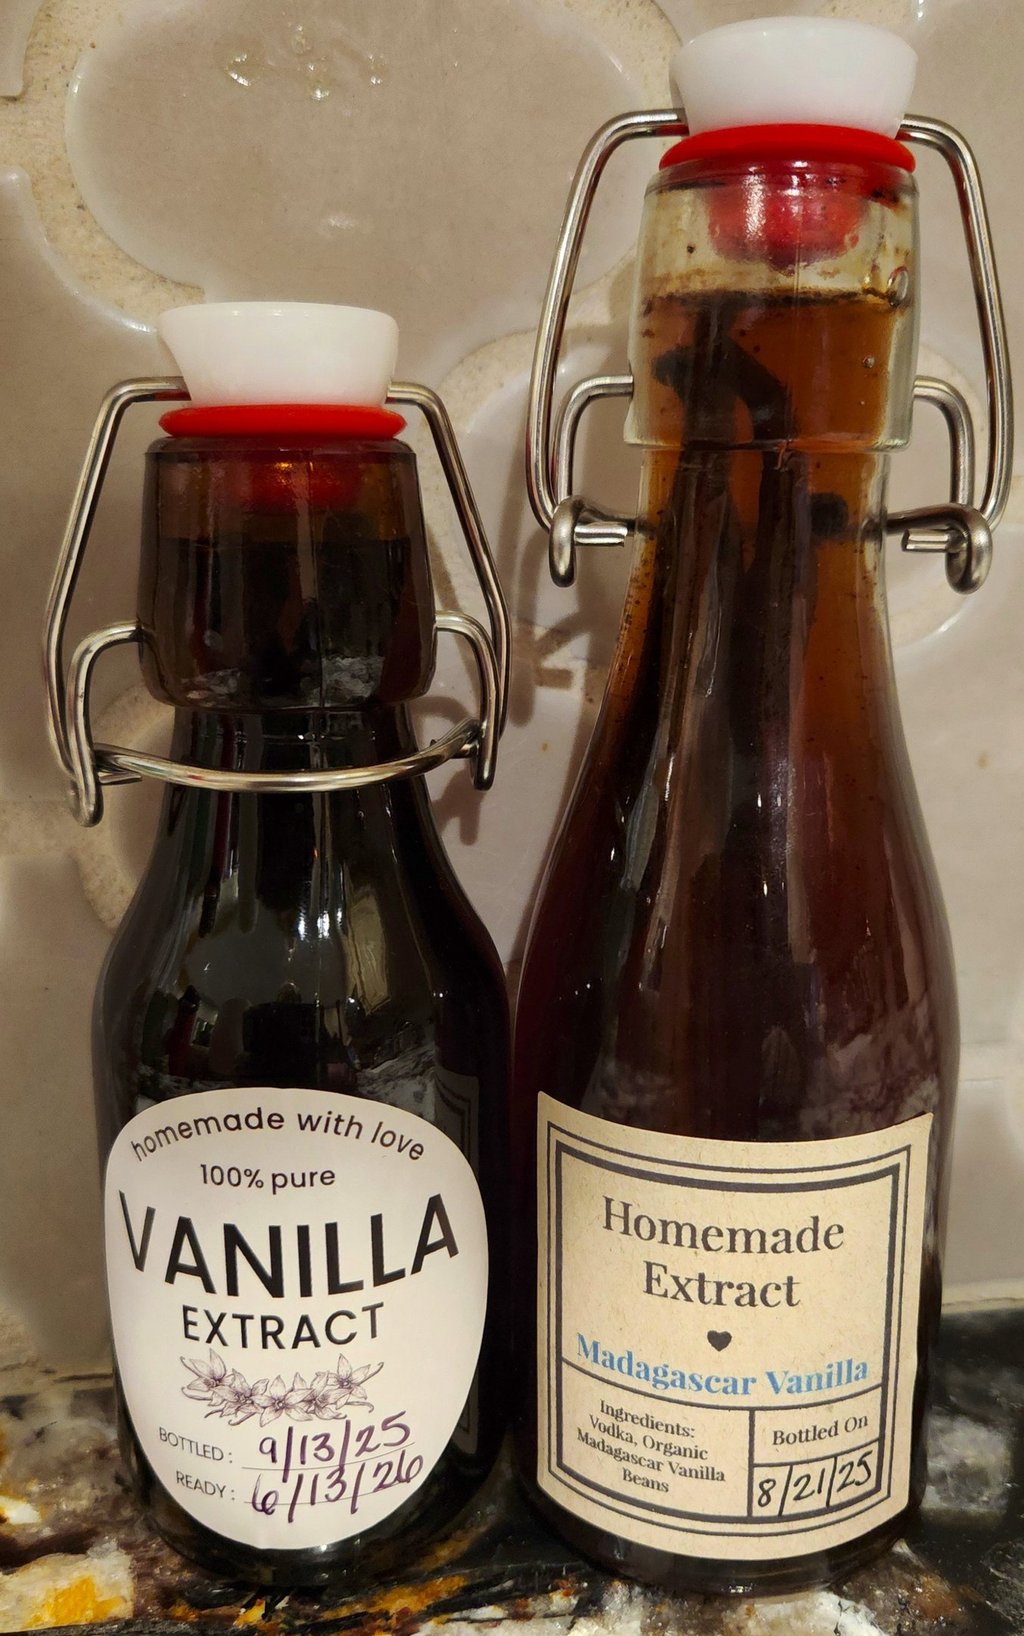
Place the sliced vanilla beans in a 5 ounce storage bottle (preferably brown bottle).
Fill the remainder of the bottle with vodka of any choice.
Close the bottle with a tight-fitting lid.
Print custom labels - consider printing or filling in your label with "bottled on" and "ready on" dates (let the bottles sit for ~6 months before using).
Occasionally shake the bottle to help the vanilla beans infuse into the vodka.
Useful Tips:
Once you begin using the vanilla extract, replace the used portion with vodka to make your extract last longer, ensuring the vanilla bean is completely submerged.
The shelf life of this vanilla extract will be best if used within 1-2 years but can last up to 10 years if properly stored in a cool (not refrigerated), dark place.
If you do not have a printer or are uncomfortable designing and printing labels, opt for black labels and use a white paint pen to write your label information. This can add a level of charming personalization, especially if you have elegant handwriting.
While you can use any grade a vanilla beans, grade B vanilla beans typically will infuse the vodka more easily. Grade B vanilla beans have a more intense flavor and are more cost-effective than the grade A counterparts typically used for cooking when adding vanilla beans directly to your recipe.
Optionally, you can add a decorative finishing touch for by adding twine, ribbons, or tags and pairing with recipes, adding to a basket of baked goods, or a cookbook as a thoughtful gift idea.